Skip to content Update
MCP Server Tutorial — List Installed Apps on Your Computer
Hi, I'm Terence. Today we'll build a simple MCP server.
Introduction
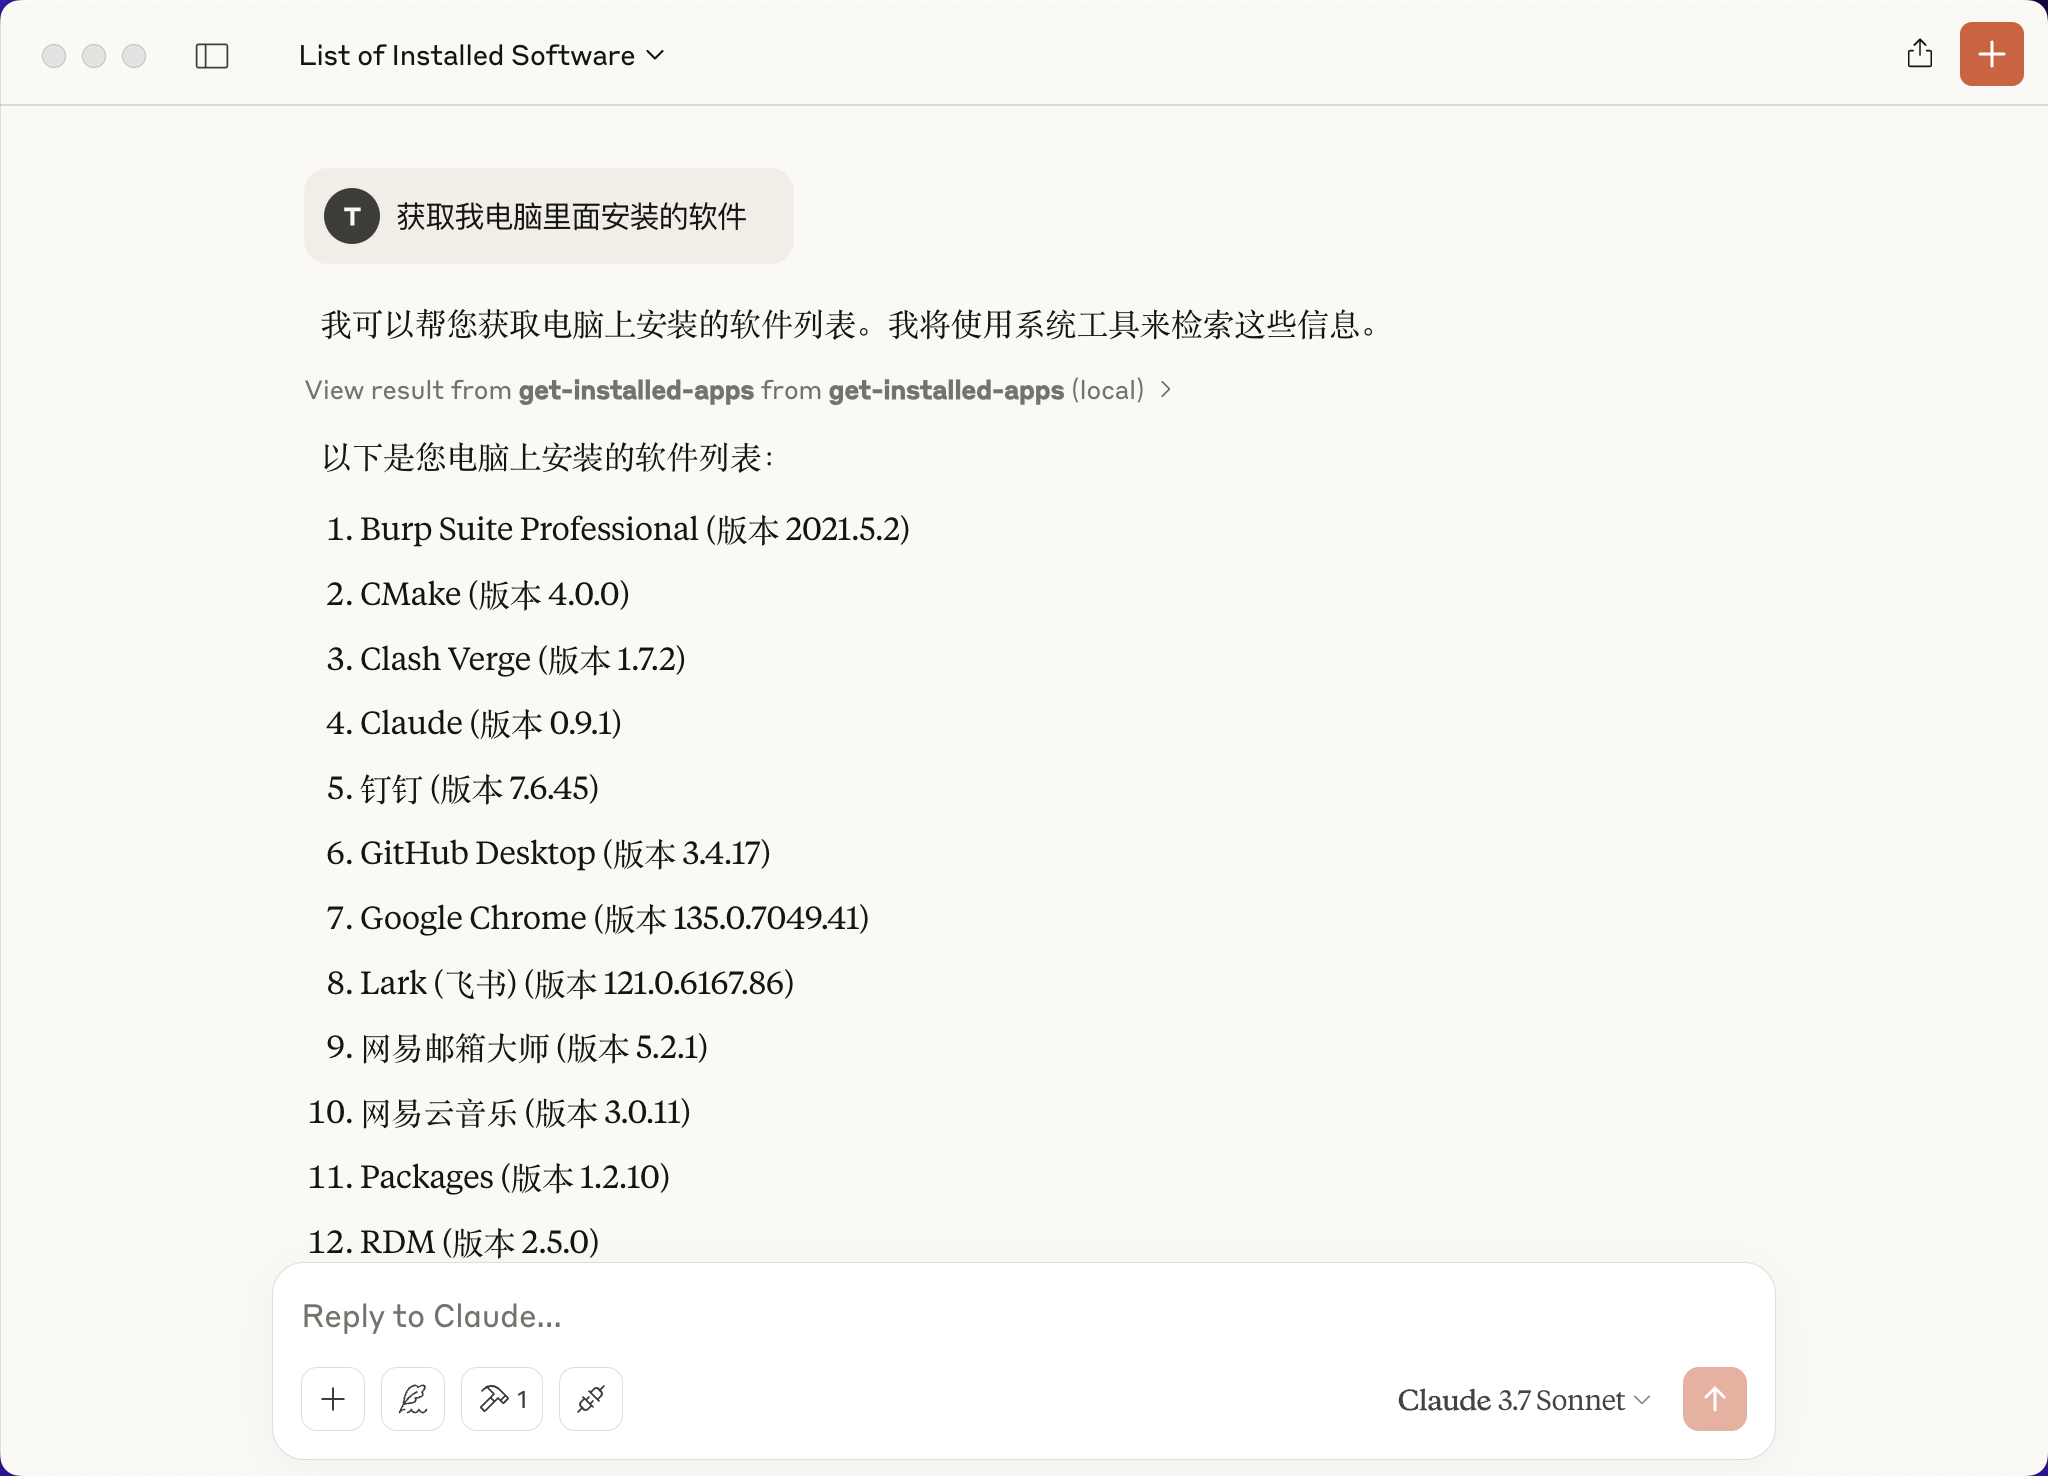
Typical AI agent clients usually cannot run file or system operations. Once you connect an MCP server, those operations become much easier. In this tutorial we'll build a simple MCP server that lists the software installed on the local machine.
Prerequisites
For frontend engineers, JavaScript or TypeScript is the natural choice. MCP also ships an official TypeScript SDK, so we'll implement a small MCP server with Node. You'll need:
- Node 16+
- The Claude desktop app installed
- macOS as the demo environment
Initialize the Project
bash
# Create the project directory
mkdir mcp-get-installed-apps
cd mcp-get-installed-apps

# Initialize npm
npm init -y

# Install dependencies
npm install @modelcontextprotocol/sdk zod
npm install -D @types/node typescript

# Create source files
mkdir src
touch src/index.ts
Update package.json and tsconfig.json
package.json
json
{
  "type": "module",
  "bin": {
    "weather": "./build/index.js"
  },
  "scripts": {
    "build": "tsc && chmod 755 build/index.js"
  },
  "files": [
    "build"
  ]
}
tsconfig.json
json
{
  "compilerOptions": {
    "target": "ES2022",
    "module": "Node16",
    "moduleResolution": "Node16",
    "outDir": "./build",
    "rootDir": "./src",
    "strict": true,
    "esModuleInterop": true,
    "skipLibCheck": true,
    "forceConsistentCasingInFileNames": true
  },
  "include": ["src/**/*"],
  "exclude": ["node_modules"]
}
With the project layout and config ready, we can move on to the business logic.
Build the MCP Server
It's straightforward — under 50 lines in total:
typescript
import { McpServer } from "@modelcontextprotocol/sdk/server/mcp.js";
import { StdioServerTransport } from "@modelcontextprotocol/sdk/server/stdio.js";
import { getInstalledApps } from "get-installed-apps";

const server = new McpServer({
  name: "mcp-get-installed-apps",
  version: "1.0.0",
  capabilities: {
    resources: {},
    tools: {},
  },
});

server.tool(
  "get-installed-apps",
  "Get my computer's installed apps",
  async () => {
    const apps = await getInstalledApps();
    return {
      content: [
        {
          type: "text",
          text: JSON.stringify(apps, null, 2),
        },
      ],
    };
  }
);

async function main() {
  const transport = new StdioServerTransport();
  await server.connect(transport);
  console.error("Weather MCP Server running on stdio");
}

main().catch((error) => {
  console.error("Fatal error in main():", error);
  process.exit(1);
});
There are three core steps:
- Create an
McpServerinstance with name, version, and capabilities. Here the server is namedmcp-get-installed-appsat version1.0.0. - Define a tool with
server.tool()namedget-installed-apps, described as "Get my computer's installed apps". - Use
main()as the entry point: create aStdioServerTransport, then connect the server withserver.connect().
get-installed-apps is an npm package I wrote, so install it as well:
bash
npm install get-installed-appsBuild the Server
After the service is ready, package it with:
bash
npm run buildConnect It to the Claude Desktop App
To run your own MCP server, verify it with the Claude desktop app.
- Add or edit
claude_desktop_config.json
Path: /Users/xxx/Library/Application Support/Claude/claude_desktop_config.json
json
{
  "mcpServers": {
    "get-installed-apps": {
      "command": "node",
      "args": [
        "/Users/xxx/Documents/git/mcp-get-installed-apps/build/index.js"
      ]
    }
  }
}
Replace /Users/xxx/Documents/git/mcp-get-installed-apps/build/index.js with the path to your built server.
- Restart the Claude desktop app so it reloads the config and imports the server.

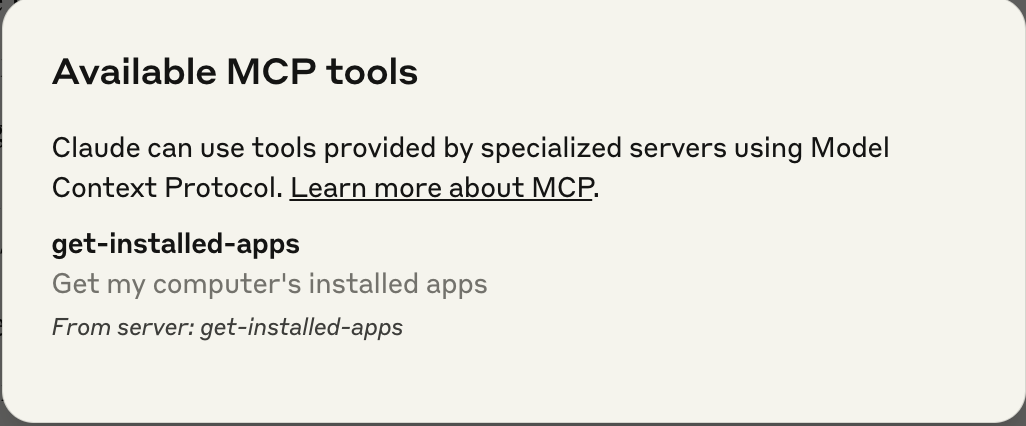
If everything works, the MCP server loads, and asking the right question should produce a result like this:
The flow behind that answer is roughly:
- The client sends your question to Claude
- Claude inspects available tools and chooses one
- The client runs the selected tool through the MCP server
- The result is returned to Claude
- Claude turns the result into a natural-language reply
Closing Thoughts
In this tutorial we built a simple MCP server and got a feel for why MCP is powerful. With MCP, an AI agent client is no longer limited to Q&A — it can handle more specific and complex scenarios. It's easy to look forward to a much larger wave of MCP services and applications next.